Specifications
- Print speed A4: 22 pages per minute
- Print speed A3: 15 pages per minute
- Resolution: 1200x1200 dpi
- 3.5GB memory
- UFRII, PCL6, PS 3, direct print PDF
- network scanner
Installation instructions - Windows 10/11
-
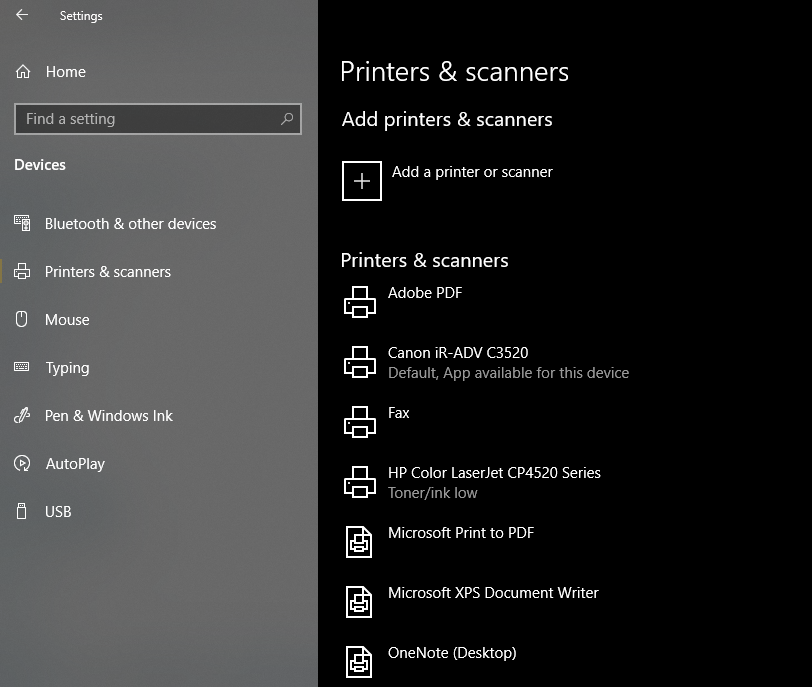
Open window
"Start" - "Printers & Scanners".
-
Choose
"Add a printer or scanner". image
-
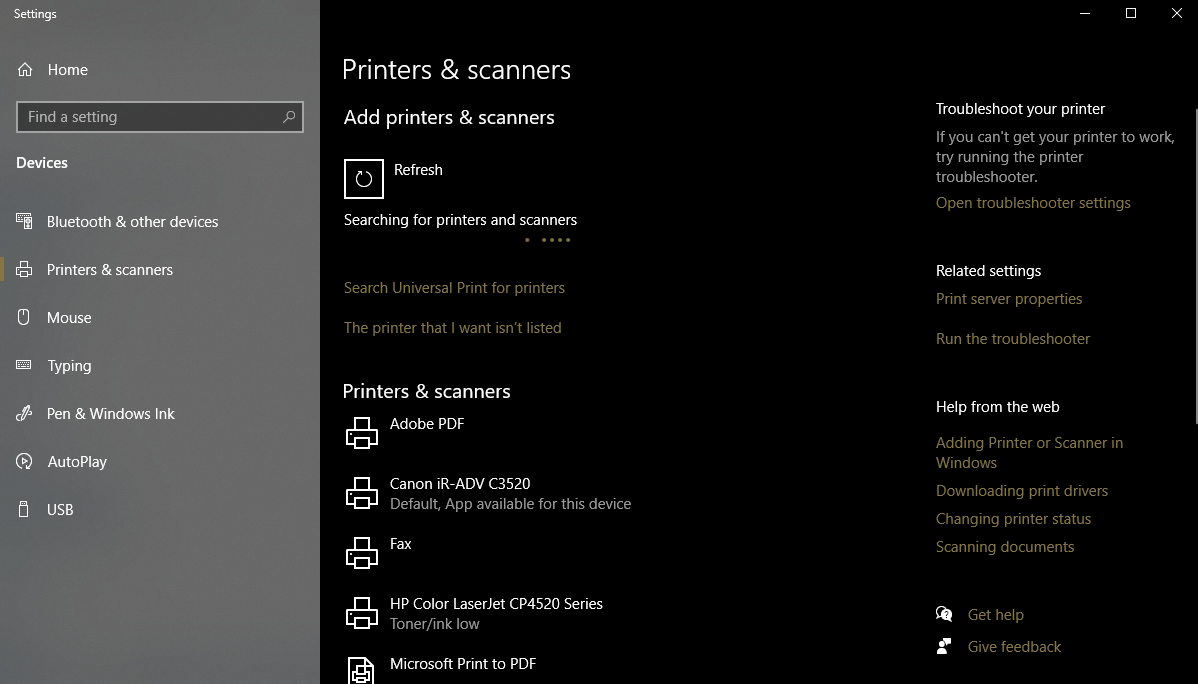
Windows will try to find printers on the network. After few seconds, the
The printer that I want isn't listed link appears, click on it. image
-
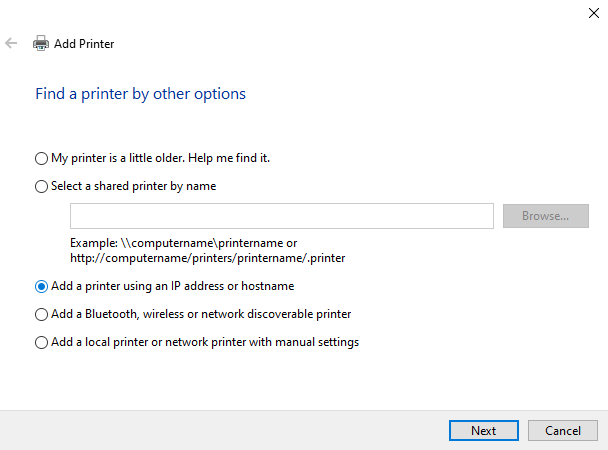
On the next page of the wizard, select
Add a printer using a TCP/IP address or hostname.
Click Next. image
-
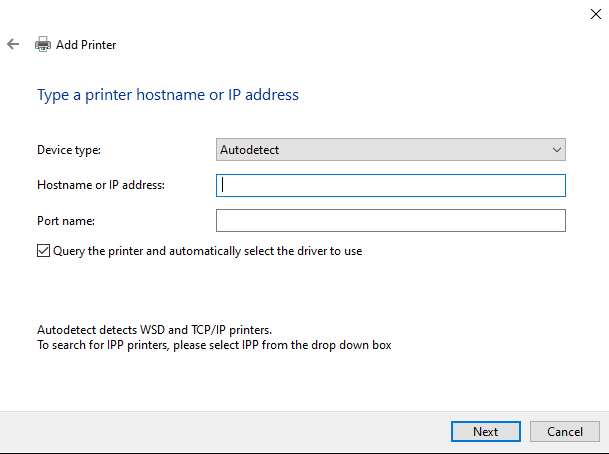
Enter the
10.26.203.66 to the Hostname or IP address: field .
Click Next. image
-
You can select own name of the printer in the
Printer name field. Click Next.
-
If the printer sharing window appears, select
Do not share this printer. Click Next.
-
You can print a test page on the last page of the wizard. Click
Finish .
Installation instructions - Ubuntu (Generic)
-
Driver for the printer is available on the Canon website.
-
In the system, add the printer according to your distribution. IP address of the printer is
10.26.203.66
Scanner
Scan from the device
There are 2 options for local scanning:
Scan and Send a
Scan and Store.
Scan and Send
- Place the document in the upper feeder or on the glass surface.
-
Sending is possible only on email within the
fzu.cz domain. The email will arrive from scan@fzu.cz with an attachment.
- Select the option
Scan and Send on the device screen. If your address is in the address book, select Address Book and select your address, otherwise select New Destination, click E-mail and enter your full email address.
-
In the right menu, you can customize the scanning properties, color, dimensions, output file format (JPEG, TIFF, PDF, XPS, OOXML). OCR (language selectable) is also available for PDF, XPS, and OOXML.
-
Scanning will be started by pressing green
Start button. If the original was in the upper feeder, all papers will be scanned. If the original was on the glass surface, it is possible to change the original and press the Start button again to scan another paper. Press the Start sending button to complete the scan and send the resulting file as an attachment to the specified address.
Scan and Store
Requires to insert external media via USB. The USB port is on the right side of the device